 Let’s Begin!
 Let’s Begin!
 Step 1: Set the Yarn
 Step 1: Set the Yarn
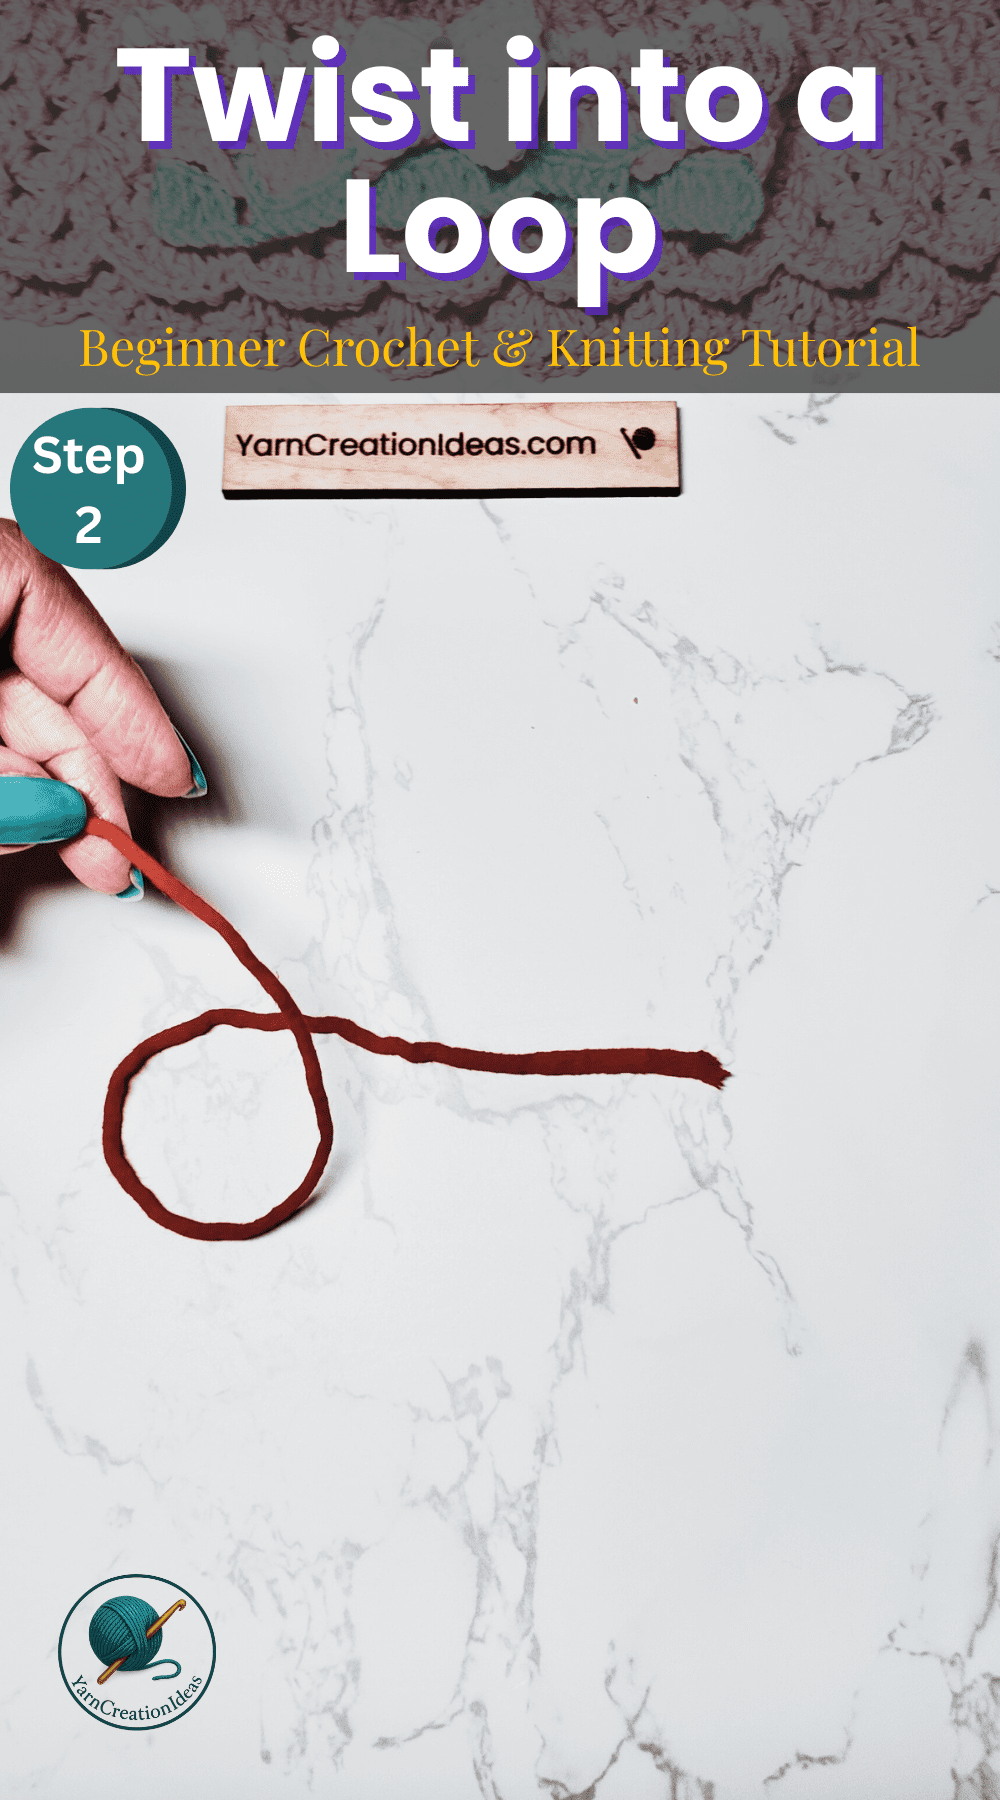
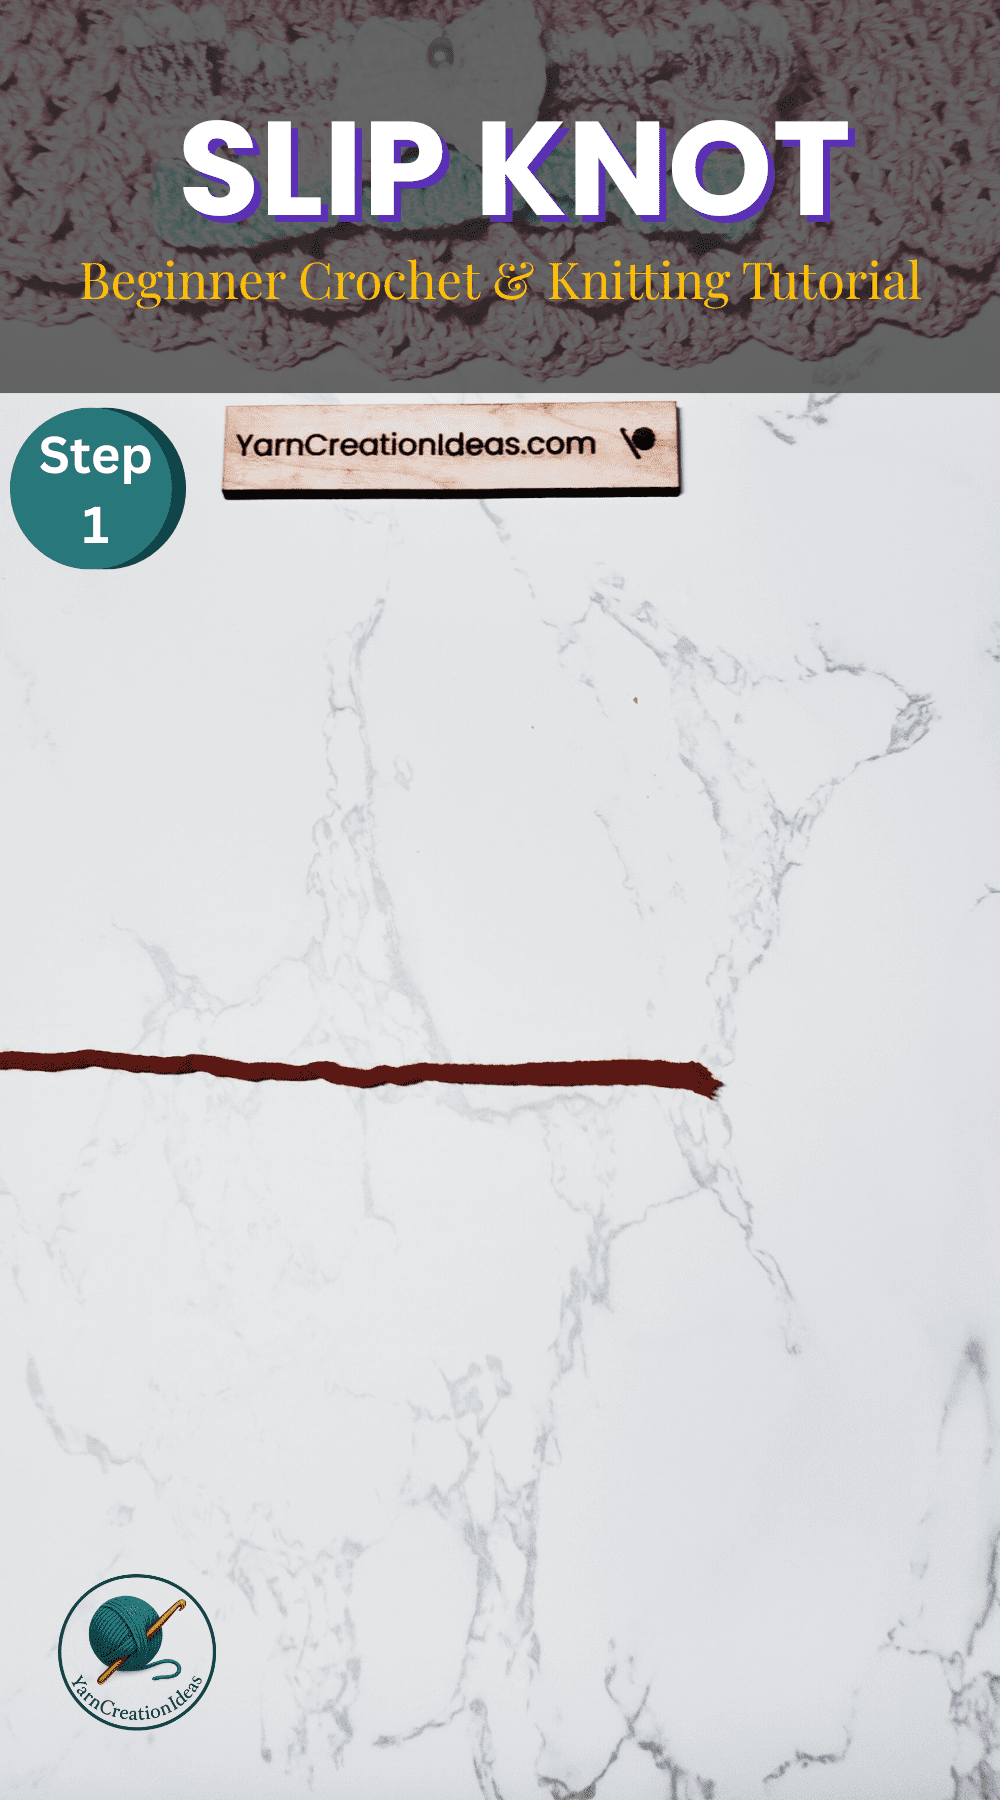
Lay your yarn flat on the surface with the tail end on the right side (as seen in the photo) and the working yarn on the left. This is the starting position for making a slip knot in crochet or knitting.