Welcome to the Wonderful World of Crochet!
If you’ve been curious about learning crochet and joining a fun, relaxing hobby, you’re in the right place. Whether you’re part of a local crochet club, learning with friends, or diving in solo, having the right tools makes all the difference.
In this guide, I’ll walk you through all the essential crochet supplies you’ll need to get started—and I’ll include hand-picked beginner-friendly items available on Amazon so you can shop confidently and conveniently.
🎯 What to Look for in a Beginner Crochet Kit
When you’re new to crochet, the tools you choose should be:
Comfortable to use
Designed for beginners
Affordable, yet reliable
Readily available (with fast delivery!)
Let’s break it down into a checklist of essentials.
This post contains affiliate links. If you click and make a purchase, I may earn a small commission — at no extra cost to you. Thank you for supporting my crochet blog! 💕
1. Crochet Hooks (Ergonomic & Beginner-Friendly)
Crochet hooks come in a variety of sizes and styles. As a beginner, I always recommend starting with a 5.0 mm (H-8) hook — it’s the perfect size for most worsted weight yarn (ideal for learning the basics).
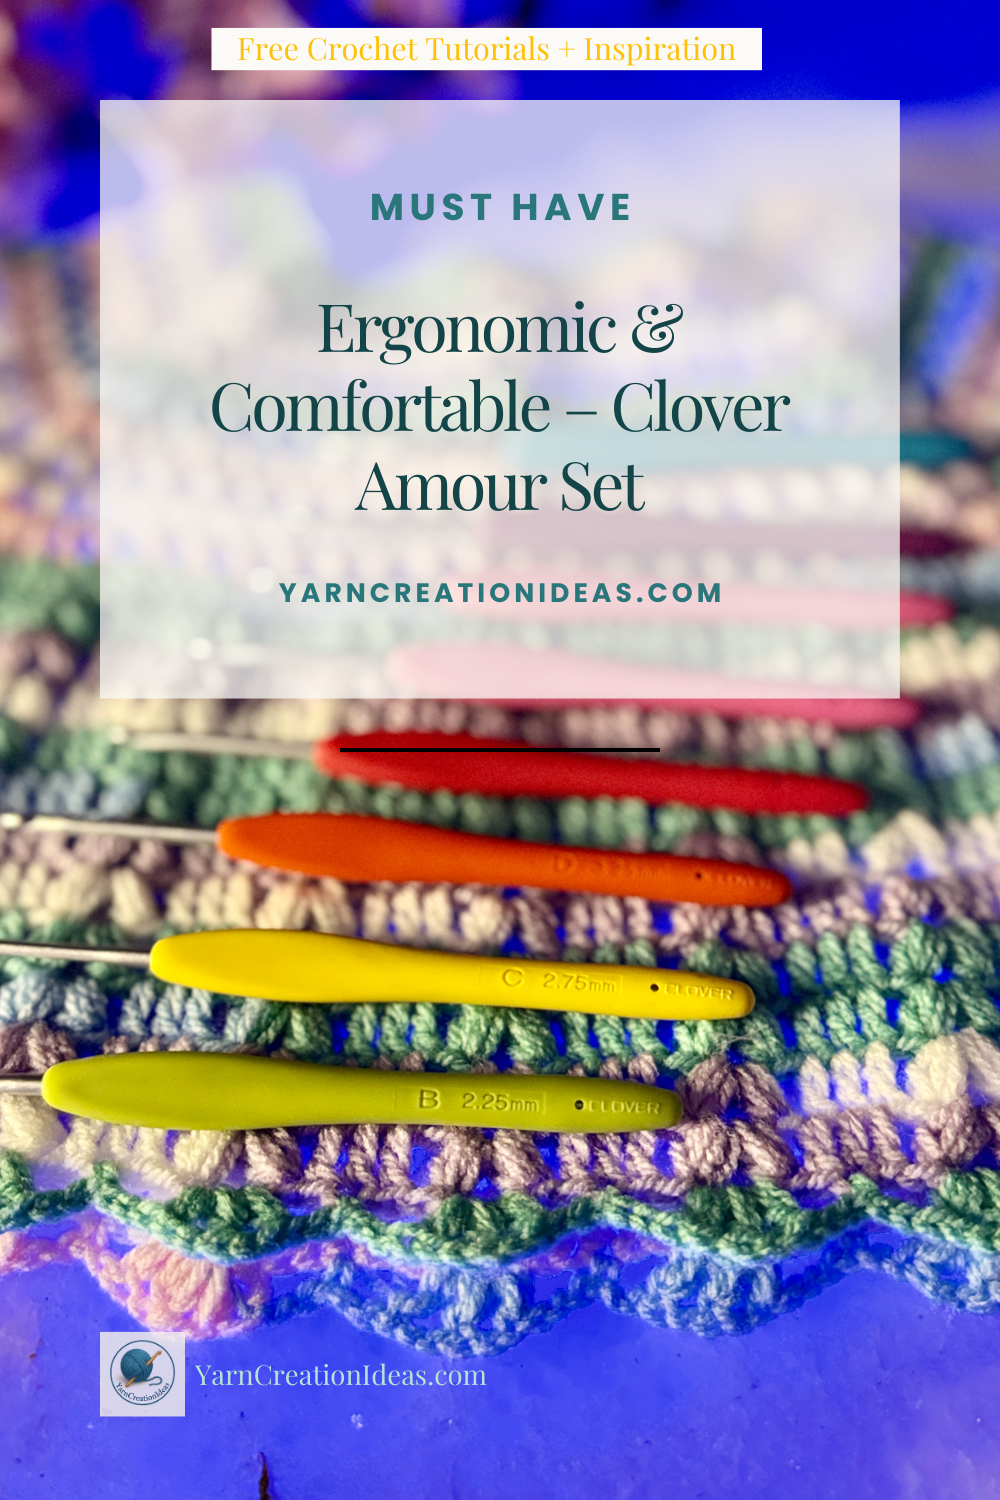
Personally, I use the Clover Amour Crochet Hooks and absolutely love them!
The ergonomic handles are soft and comfy — even during long crochet sessions — and the smooth hook makes yarn glide effortlessly. If you’re planning to crochet regularly, this full set is a dream.
🪝 My Recommendation: Clover Amour Crochet Hook Set
This is my absolute favorite hook set — soft grip handles, smooth hook tips, and perfect sizing. It’s what I use for nearly every project, and it’s ideal for both beginners and experienced crocheters!
✨ Want to try just one hook first? The 5.00 mm H-8 is a great starting point:
✅ 2. Yarn (Soft, Medium Weight, Easy to Handle)
When you’re just starting to crochet, the yarn you use makes a huge difference in how fast and confidently you learn. The right yarn will glide on your hook, help you see your stitches clearly, and keep you motivated with beautiful results.
For beginners, I always recommend using medium (worsted) weight yarn (#4). It’s soft, affordable, and the easiest to work with while you’re learning the basic stitches.
🧶 Look for:
Cotton-Nylon Blend (soft and easy to undo mistakes)
Solid light or pastel colors (you’ll see your stitches better)
Yarn labeled as “medium” or “worsted weight” (#4)
I’ve personally tested several beginner yarns, and these are two I feel confident recommending:
🧶 My Recommendation: Starter Yarn for Beginners
This yarn kit is made specifically for beginners — soft, easy to work with, and packaged in light, easy-to-see colors that help you master basic stitches with confidence.
✨ Bonus Pick: Soft Beginner Yarn
If you want a larger, squishier yarn that’s still beginner-friendly, this kit includes soft, pastel-colored skeins that are easy to work with and great for practicing basic stitches.
✅ 3. Scissors (Small, Sharp, and Craft-Approved)
Having a good pair of small scissors in your crochet kit makes life so much easier! Whether you’re trimming yarn tails, cutting strands for color changes, or shaping fringe — you’ll want a tool that’s sharp, easy to handle, and small enough to travel with.
Household scissors can work in a pinch, but I’ve found that small craft scissors are far more precise and convenient.
✂️ Look for:
Sharp, small blades for precise cutting
Comfortable grip
Protective cover (great for project bags)
Smooth, clean cuts without tugging the yarn
I personally use the scissors that came with my Cricut tool kit, and they’re amazing — but any similar small, sharp pair will work beautifully!
✂️ My Recommendation: Cricut Scissors Set
I’ve been using the scissors from this Cricut set for years, and they’ve become a staple in my crochet kit. They’re sharp, compact, and great for quick snips when working with yarn.
✨ Also Worth Checking Out:
This compact pair of scissors has great reviews and looks perfect for travel or small kits — especially if you want a dedicated yarn snipper.
✅ Section 4: Tapestry Needles (Blunt Tip, Must-Have Tool)
You’ll use tapestry needles more often than you think! They’re essential for weaving in yarn ends, joining motifs, and adding final details to your crochet projects. If you’re planning to make granny squares, amigurumi, or anything with color changes—tapestry needles will be your best friend.
I personally love using blunt-tip metal needles with a slightly bent tip—they help you glide through tight stitches without splitting the yarn. You’ll also want a large eye so it’s easy to thread with medium to bulky yarn.
🪡 My Favorite Picks:
🧷 My Favorite Tapestry Needles for Crochet
These are must-haves for finishing your projects — weaving in ends, sewing parts together, and shaping amigurumi. I recommend starting with one of these beginner-friendly options:
👉 Clover Bent-Tip Needles: Smooth, easy to thread, and perfect for both beginner and advanced projects. Comes in a handy little case!
✨ Value Pack Alternative:
Includes multiple sizes, styles, and needle threaders — great if you want extras for learning or sharing.
💡 Pro Tip:
If threading yarn is difficult, fold the yarn over your hook to “guide” it through the needle eye. Or use a needle threader—it’s a total game-changer for thicker yarn.
✅ Section 5: Stitch Markers (Colorful, Locking, and Super Handy)
If you’re crocheting in the round, making amigurumi, or just need to mark the beginning of a row—stitch markers are lifesavers. These little tools help keep your place and reduce mistakes while you work. They’re especially helpful for beginners learning how to count stitches accurately.
I personally use the Clover Locking Stitch Markers, and I absolutely love how easy they are to open, close, and spot in my projects.
🧵 What to Look For:
Locking markers that open and close securely
Bright colors to easily spot them in your project
Smooth edges so they don’t snag the yarn
🔖 My Recommendation: Clover Locking Stitch Markers
These are my go-to stitch markers — colorful, durable, and super smooth to clip into stitches. Great for tracking rounds, stitch counts, or marking increases and decreases in amigurumi and garments.
💡 Pro Tip:
Use different colors to mark different things—like the start of the round vs. increase points. It’s a simple way to stay organized and save time.
✅ Section 6: Measuring Tape (Flexible, Compact, and Always Handy)
You might be surprised how often you’ll reach for a measuring tape when crocheting! Whether you’re checking gauge, measuring rows, or sizing amigurumi pieces, a soft, flexible measuring tape is a crochet essential.
The best ones are easy to read, and soft enough to wrap around finished projects.
📏 What to Look For:
Soft, non-stretchy tape
Measurements in inches and centimeters
Compact and easy to store in a project bag or caddy
📏 My Recommendation: Flexible Crochet Measuring Tape
I use a small, white retractable tape just like this one — it’s lightweight, accurate, and easy to pull out while working on any project. Great for checking gauge, tracking length, or measuring finished pieces.
💡 Pro Tip:
When checking gauge or dimensions, always measure on a flat surface and lay your work flat without stretching it. A small difference in measurement can affect the fit of your project!
✅ Section 7: Storage Organizer (Nice to Have, But So Worth It!)
While it’s not essential when you’re just starting, a crochet organizer quickly becomes one of those “how did I live without it?” tools. Whether you’re working on multiple projects, or you just want to keep your hooks, scissors, and yarn neatly stored, a small organizer with compartments is a total game-changer.
I use a plastic caddy with sections to keep everything in reach. It keeps me focused and makes cleanup a breeze—especially during club meetups or when crocheting on the go!
🧺 What to Look For:
Dividers or compartments for separating hooks, scissors, and markers
Sturdy handle for portability
Compact size to fit in a shelf, drawer, or tote bag
🧺 My Recommendation: Crochet Organizer Caddy
Mine looks just like this compact plastic caddy — and I love it! The sectioned layout keeps my crochet workspace tidy, with all my hooks, yarns, and tools easily visible and ready to grab.
💡 Pro Tip:
Use small jars or recycled glass yogurt cups (like Oui jars) inside the caddy to group tiny tools like needles, markers, and safety pins. It’s affordable and adorable!
✅ Section 8: Yarn Holder (Optional, But So Fun!)
This might be optional, but it’s one of my favorite tools that makes crocheting so much smoother—literally! A yarn holder spinner keeps your yarn from rolling away, tangling, or bouncing under furniture (yes, that’s a thing!).
The one I use is made of wood and spins effortlessly while I crochet, letting the yarn unwind smoothly with zero tugging. It’s especially helpful with larger skeins or slippery yarns like cotton.
🧶 What to Look For:
Smooth spinning base
Stable wooden or heavy base (so it doesn’t tip)
Works with standard and jumbo-sized yarn cakes
🧵 My Recommendation: Wooden Yarn Holder
This wooden yarn spinner is the one I use—and I absolutely love it. It keeps my yarn in place and spins like a dream. Perfect for cotton, velvet, and larger skeins!
💡 Pro Tip: If you work with multiple yarn colors in the same project, consider using 2 yarn holders to keep them from tangling. It feels super organized and speeds things up!
💬 Final Tips: Join the Fun & Get Hooked!
Now that you know exactly what to buy, you’re ready to dive into your crochet journey.
Whether you’re joining a local crochet club, learning solo, or crafting with friends, this checklist will give you a smooth start. I hope you love these tools as much as I do! 💛
👉 Don’t forget to Pin this post for later and check out my free beginner tutorials to put your new supplies to good use.