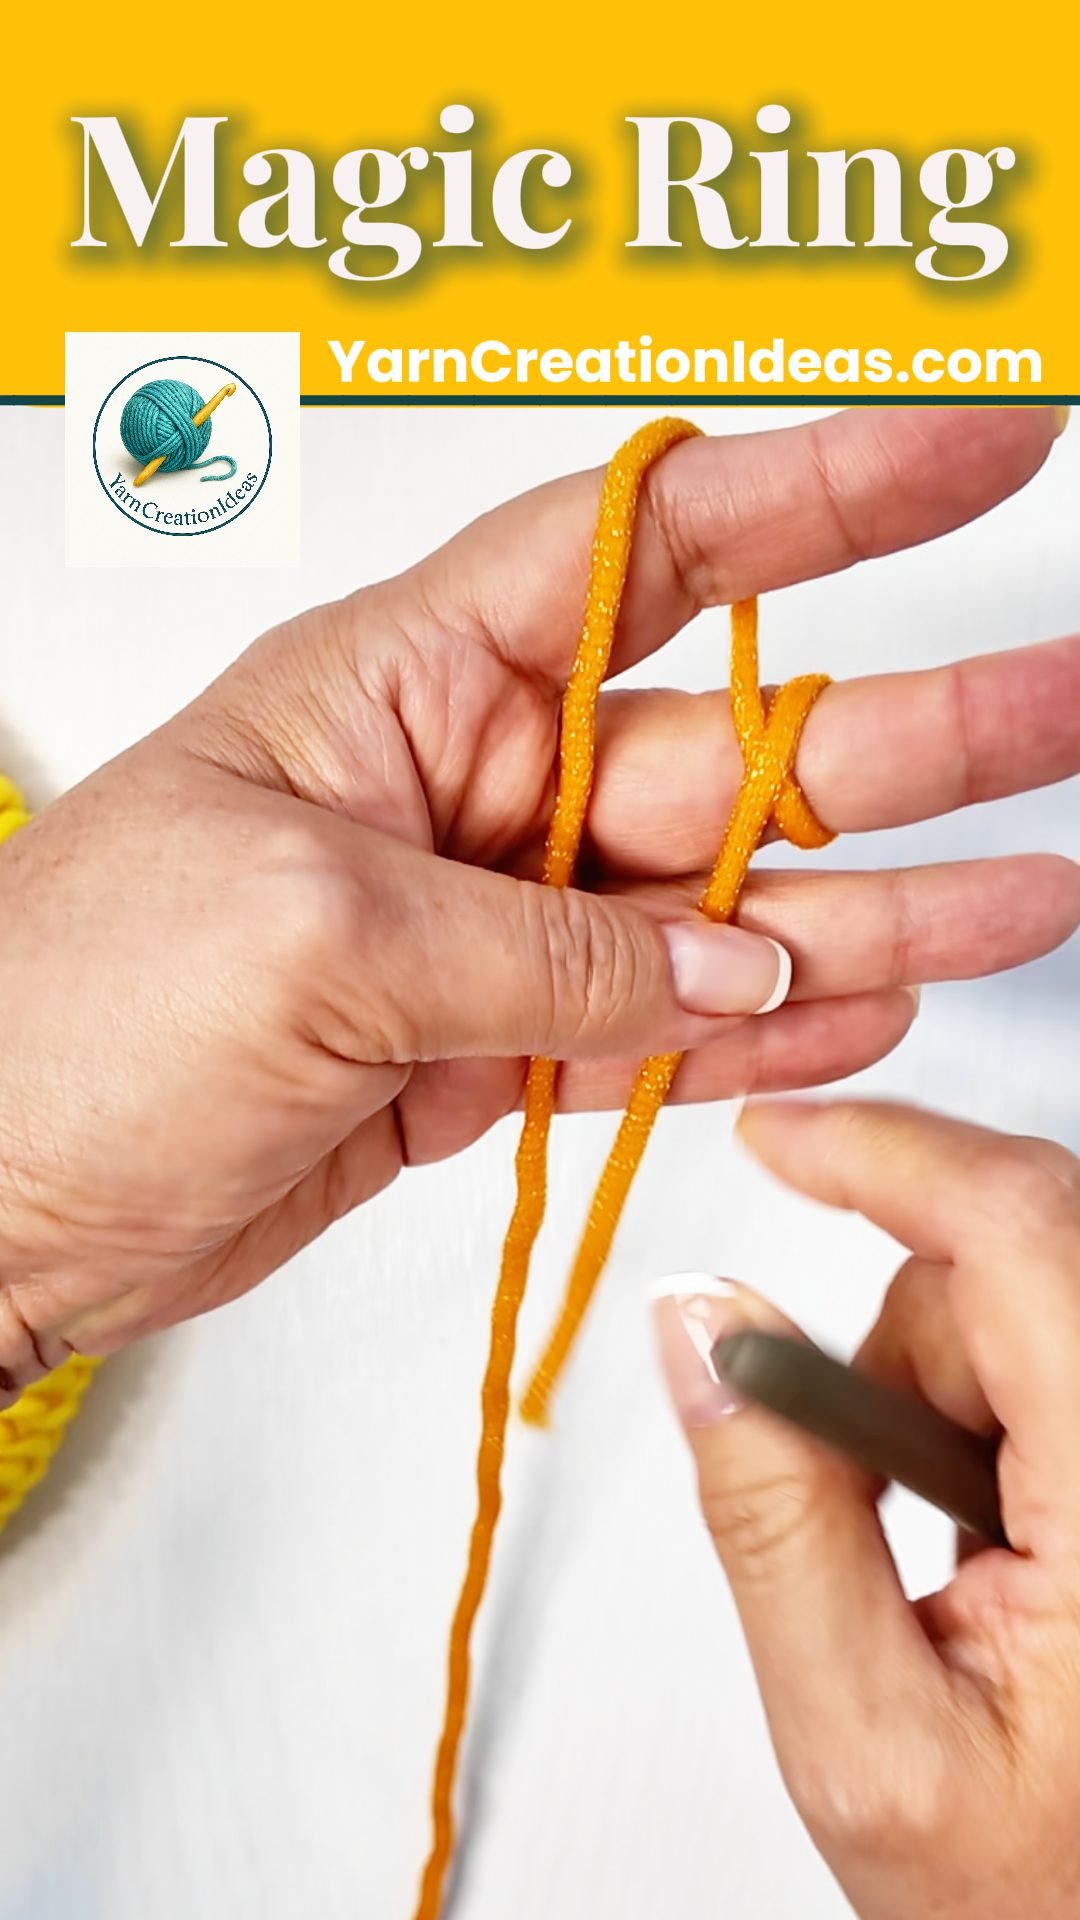
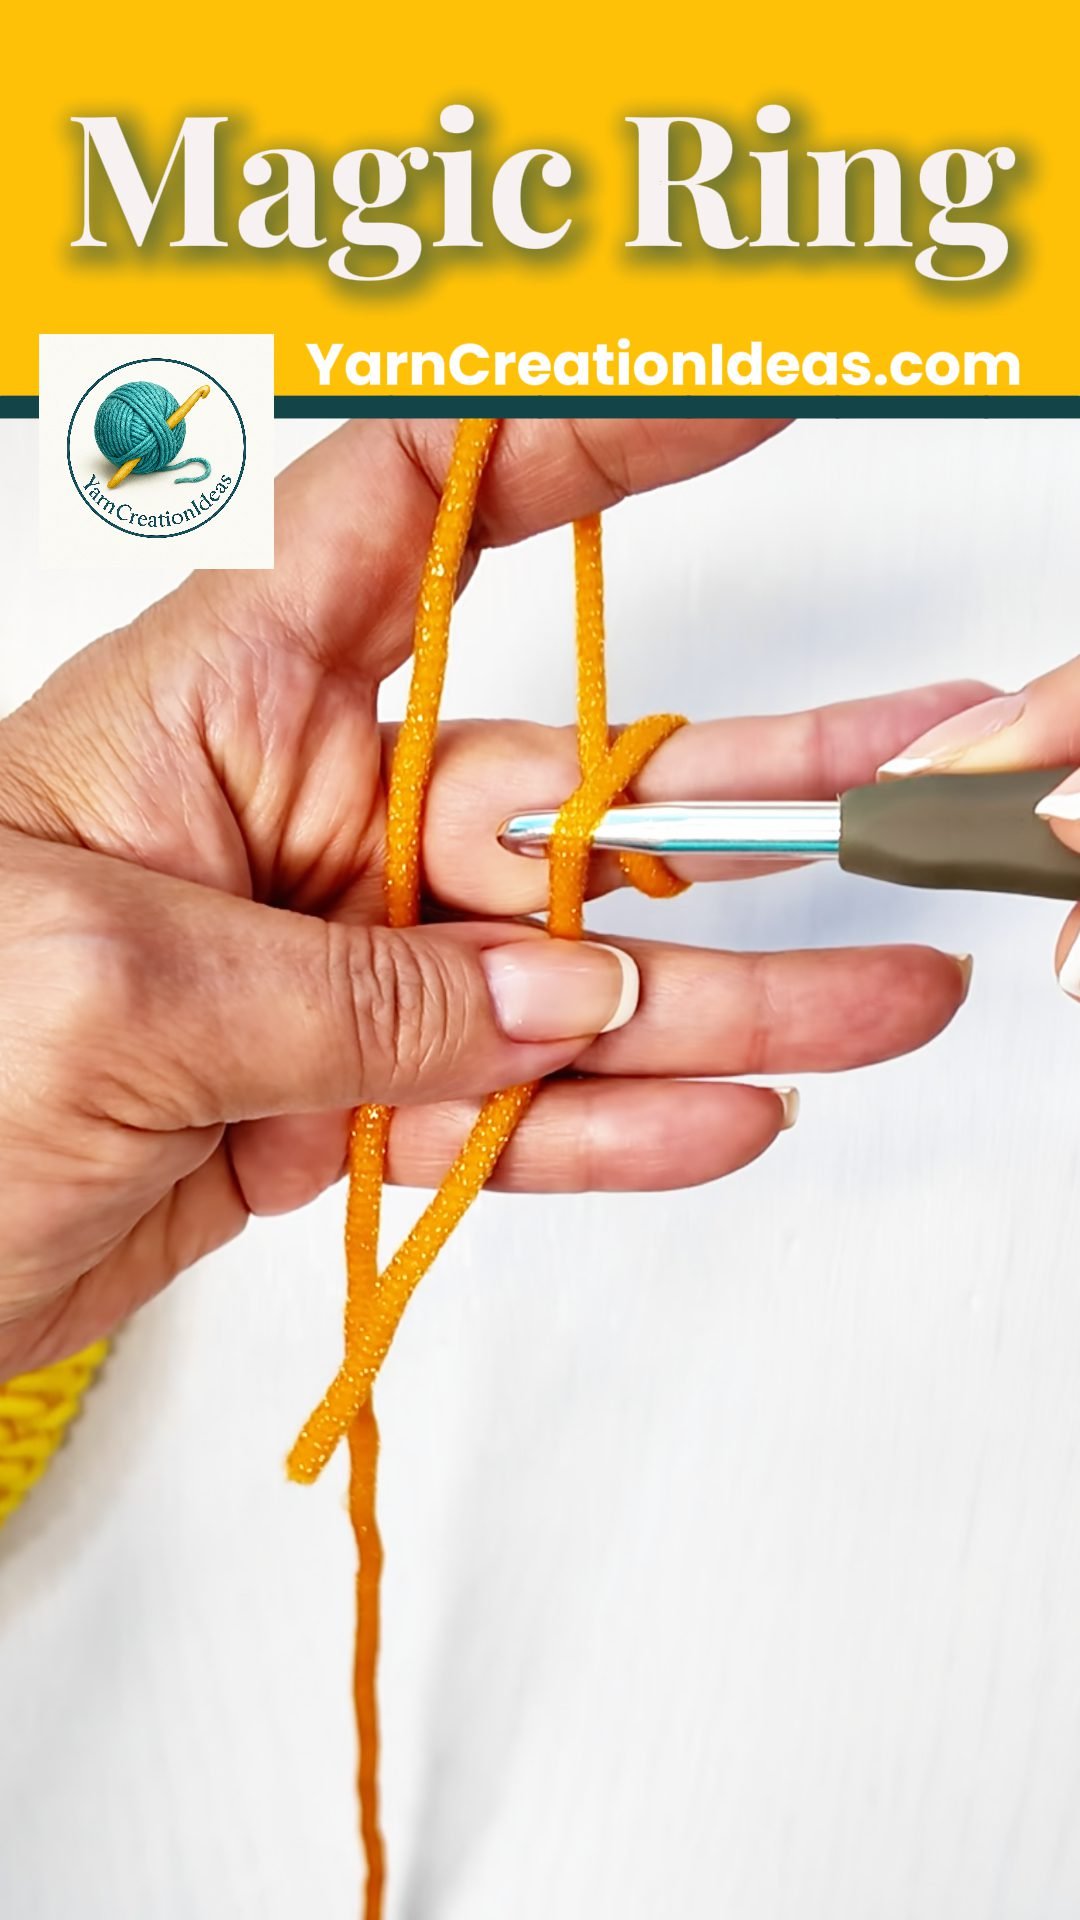
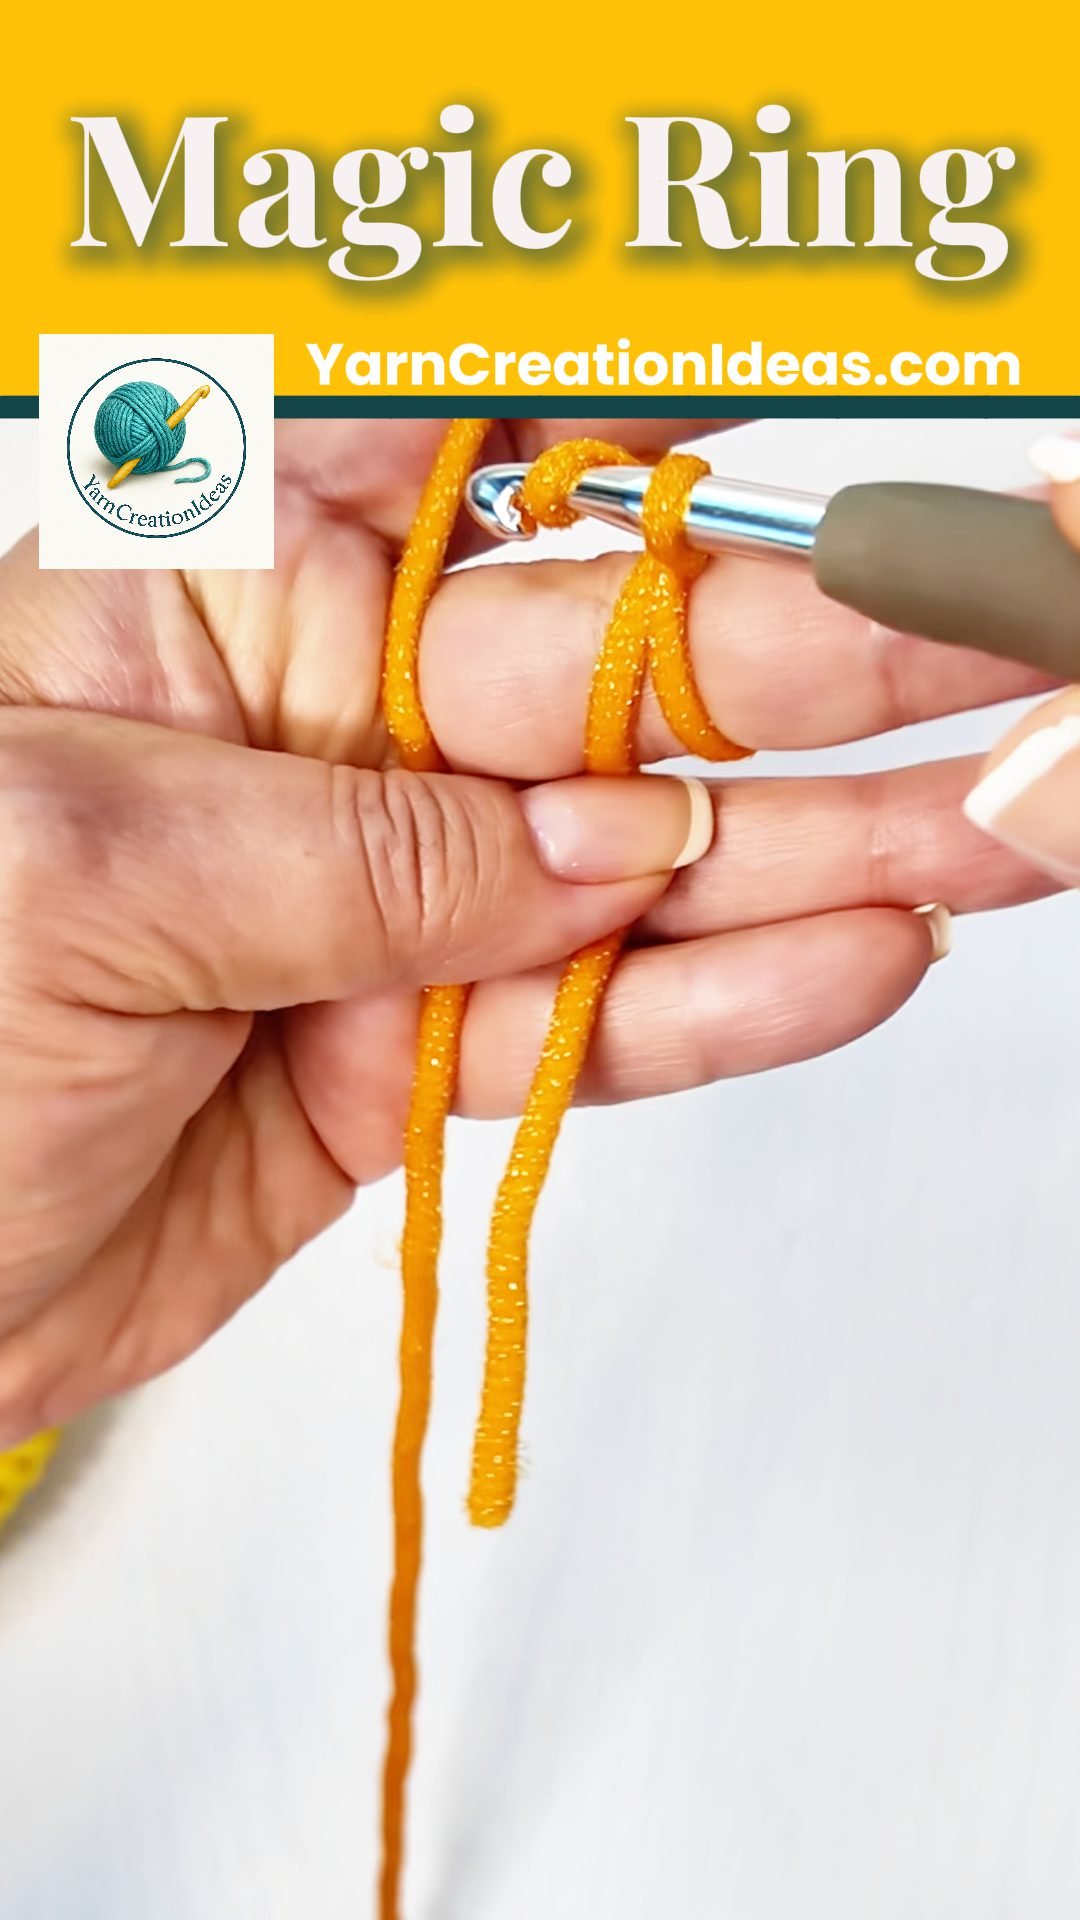
 Step 1 (Continued): Make a Magic Ring
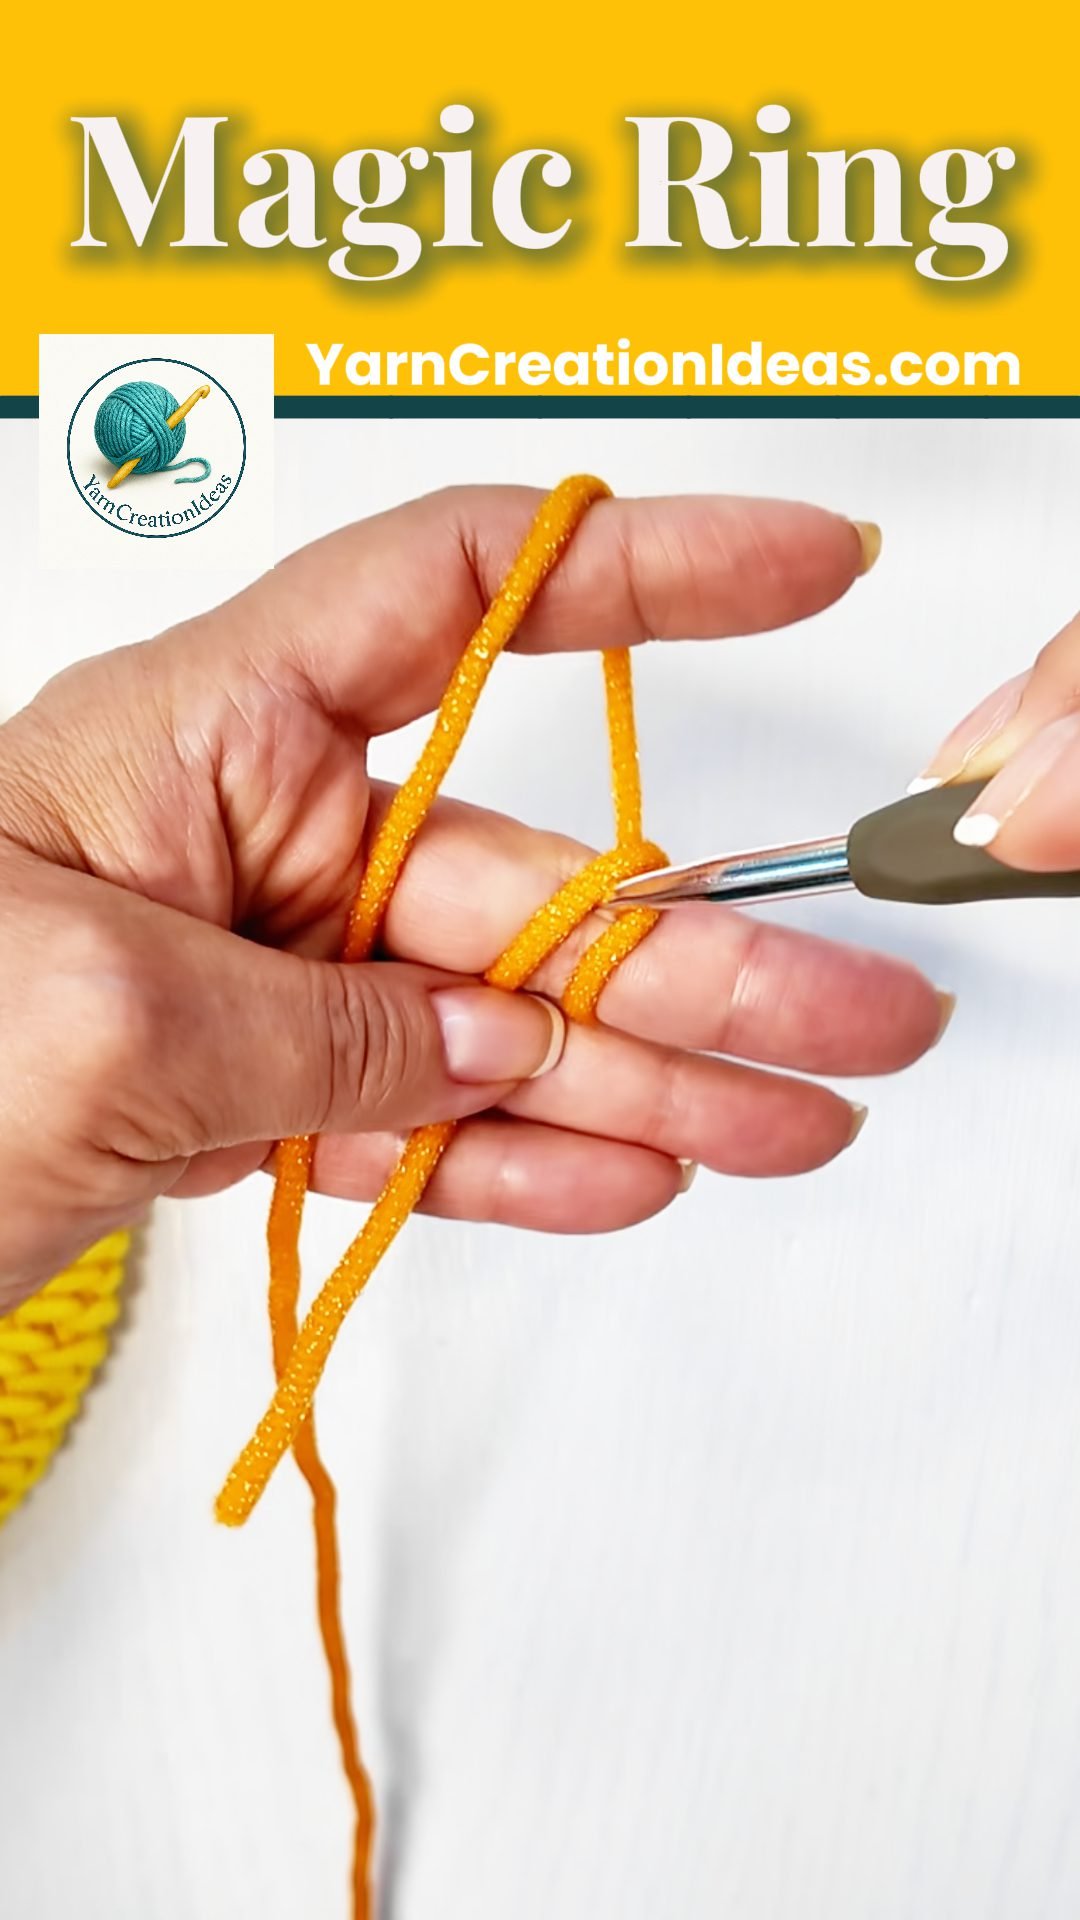
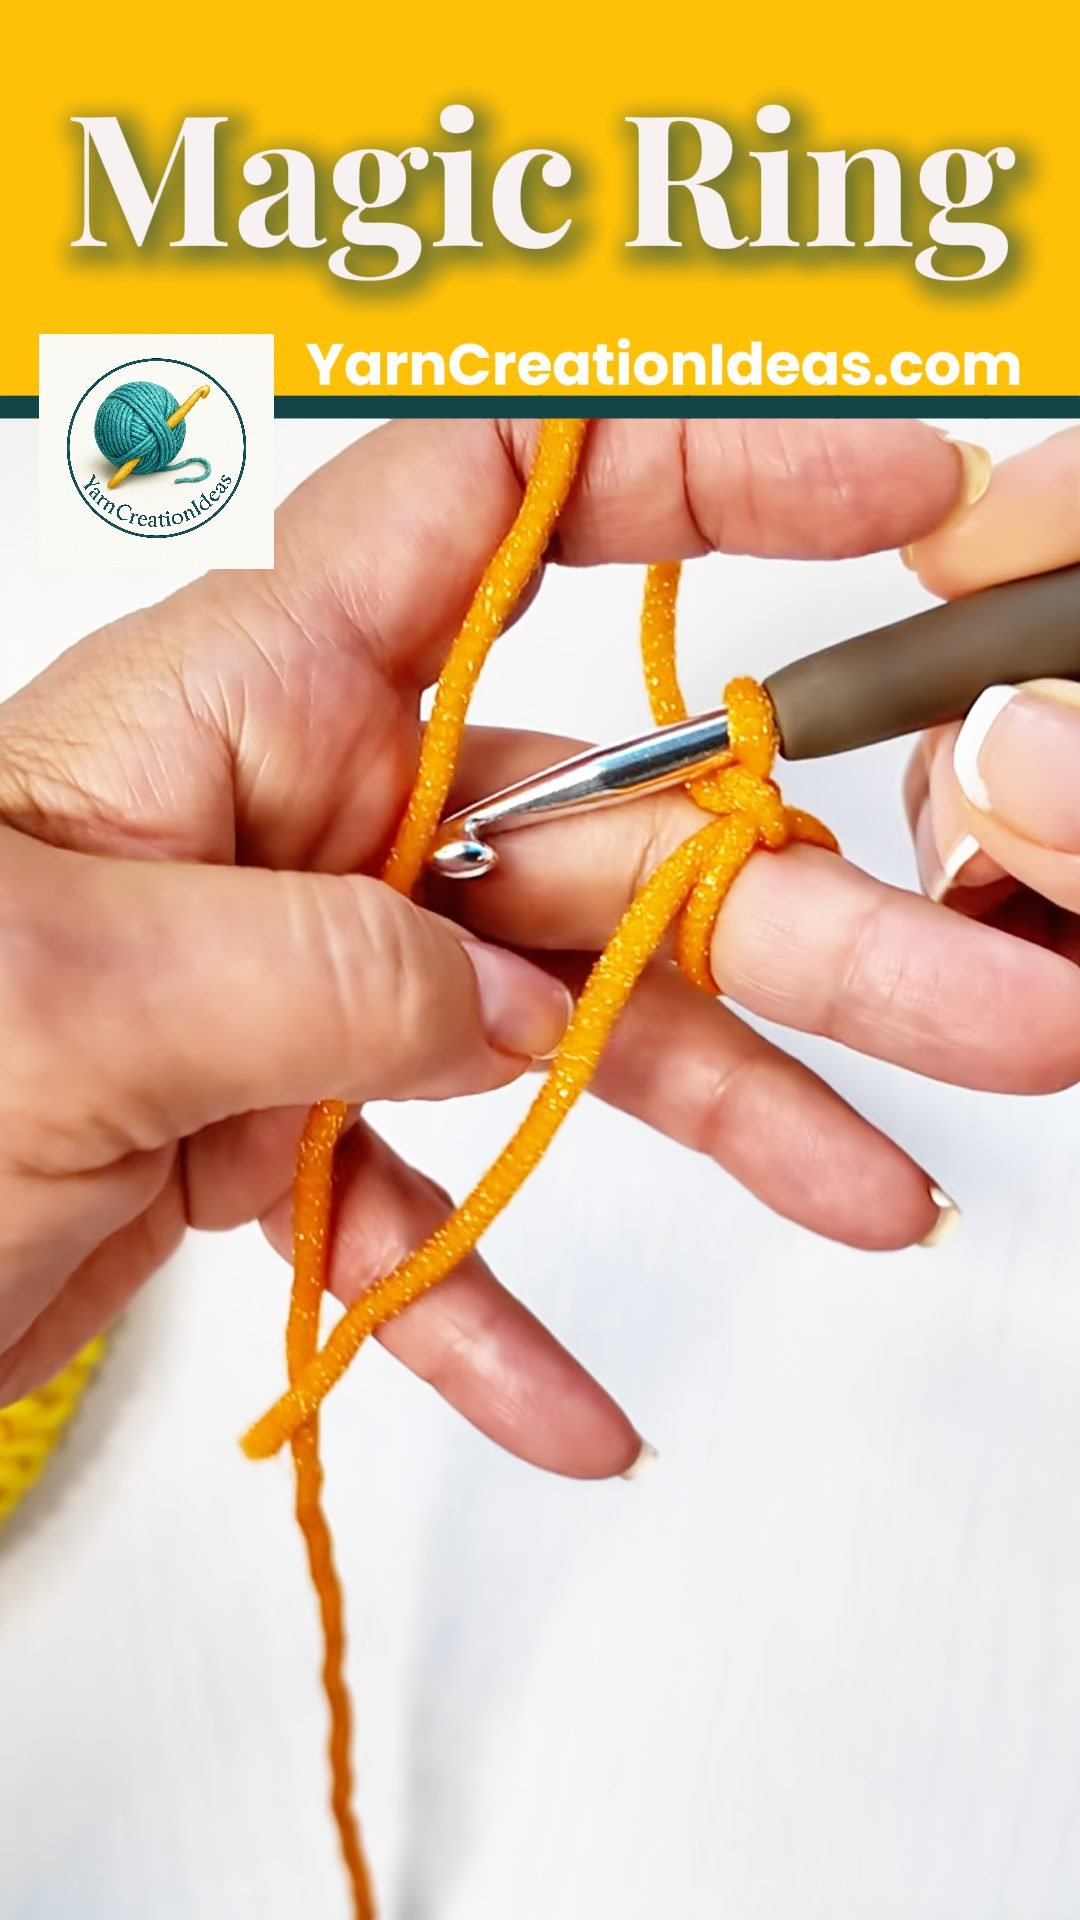
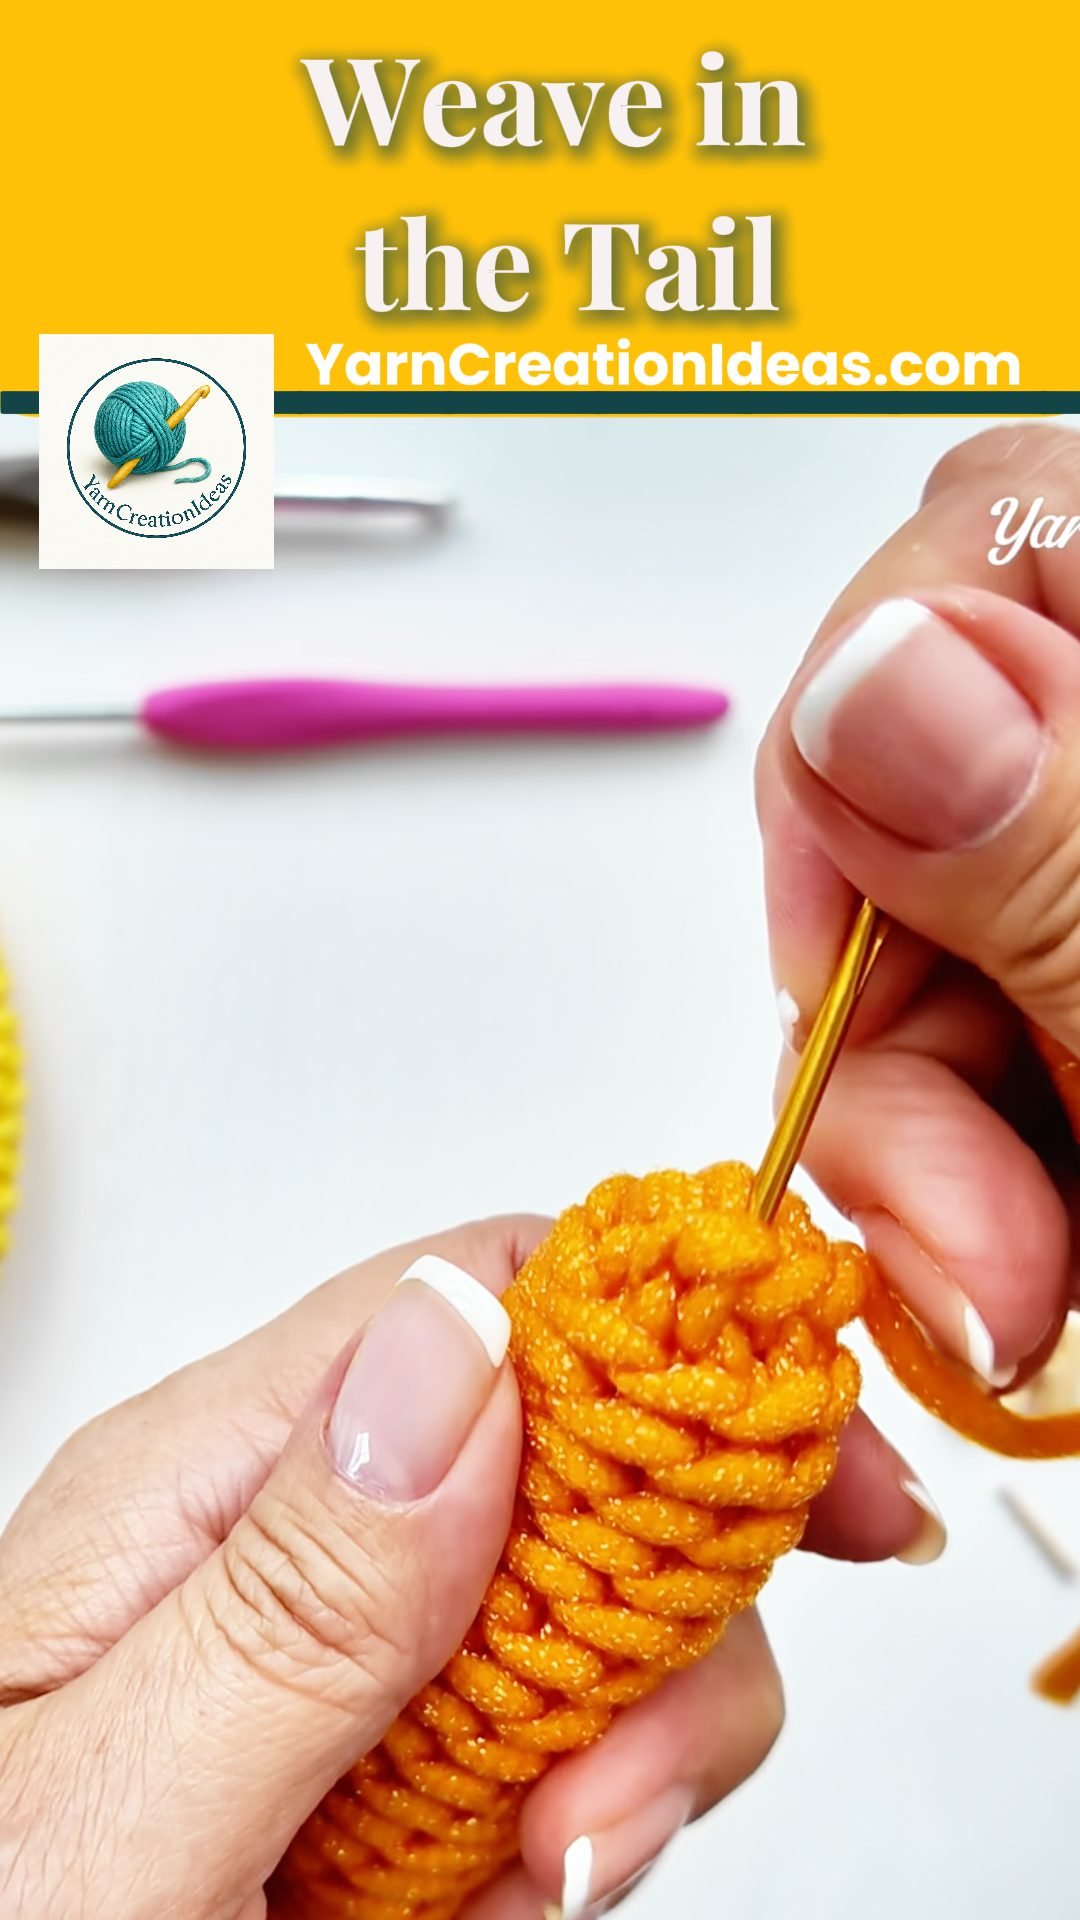
 You now have one loop on the hook — this is the center of your magic ring where you’ll place your stitches.
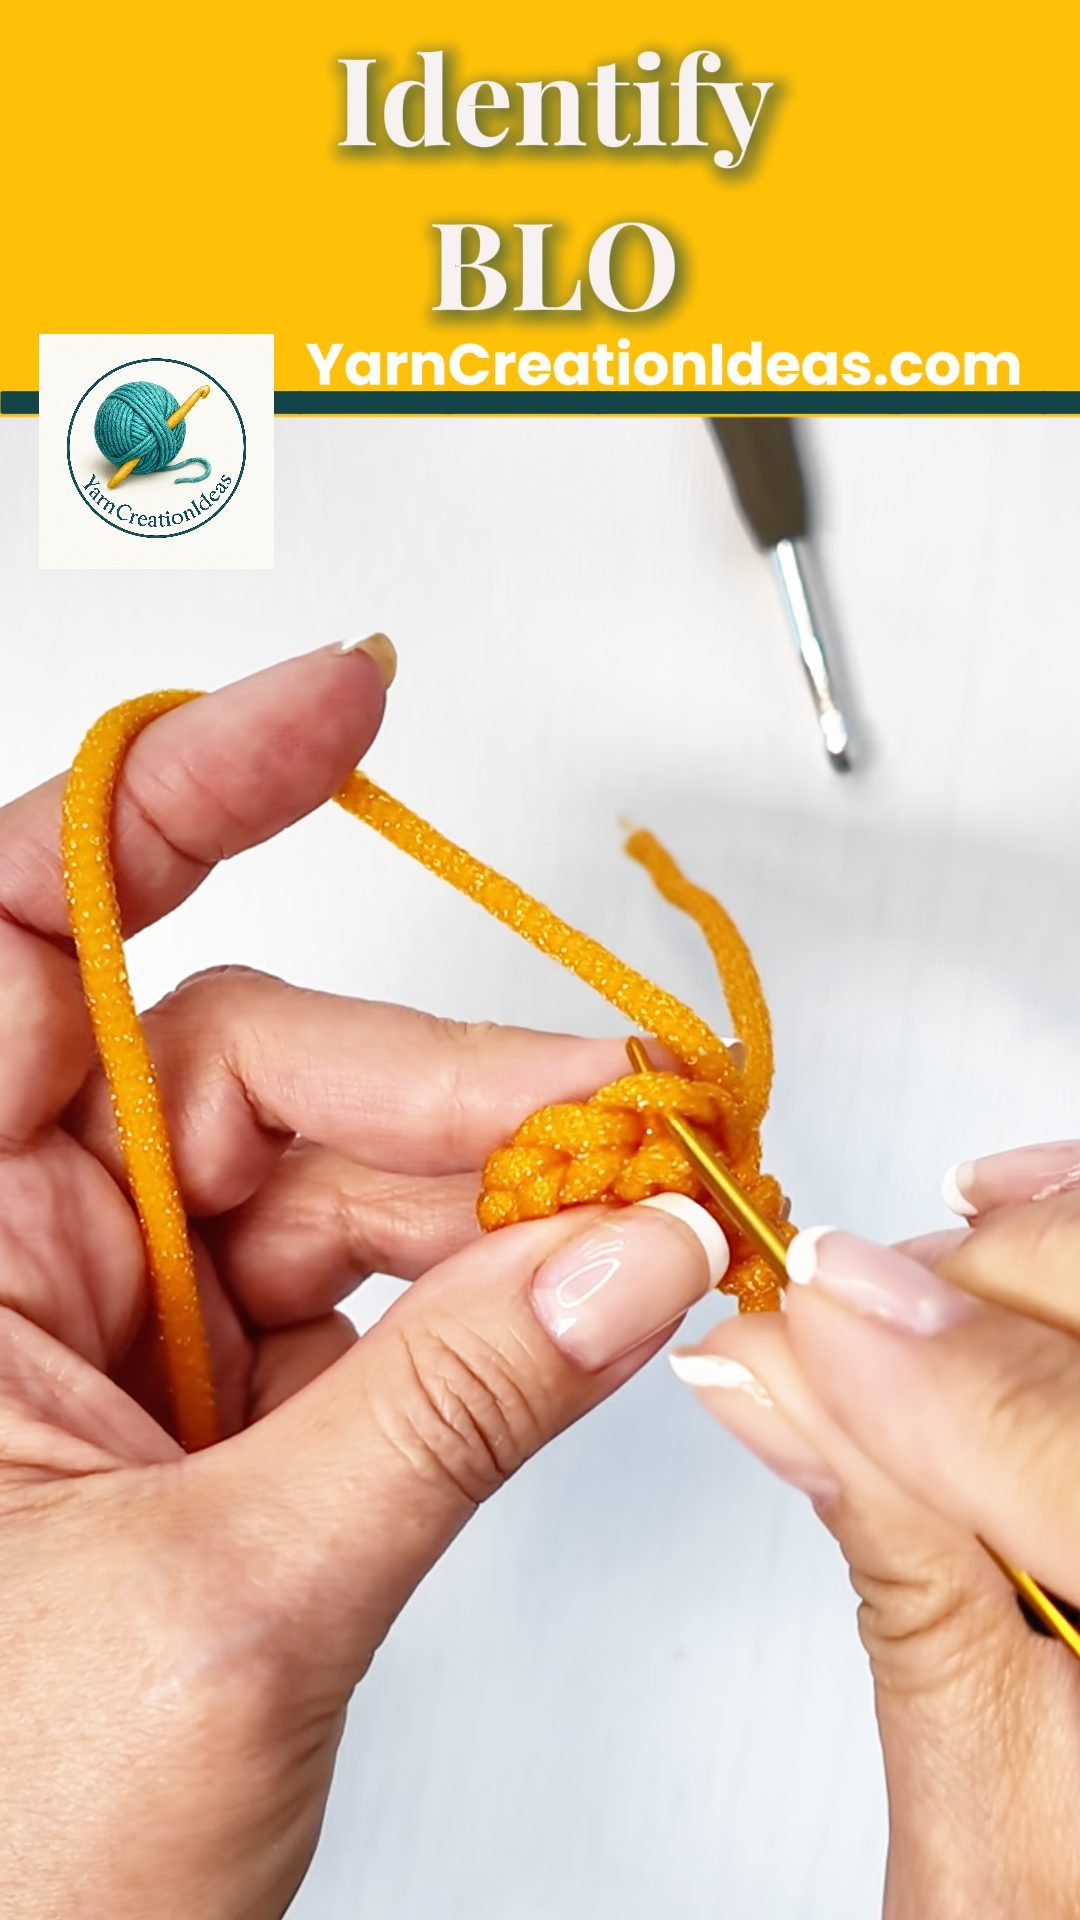


 Step 1 (Continued): Make a Magic Ring
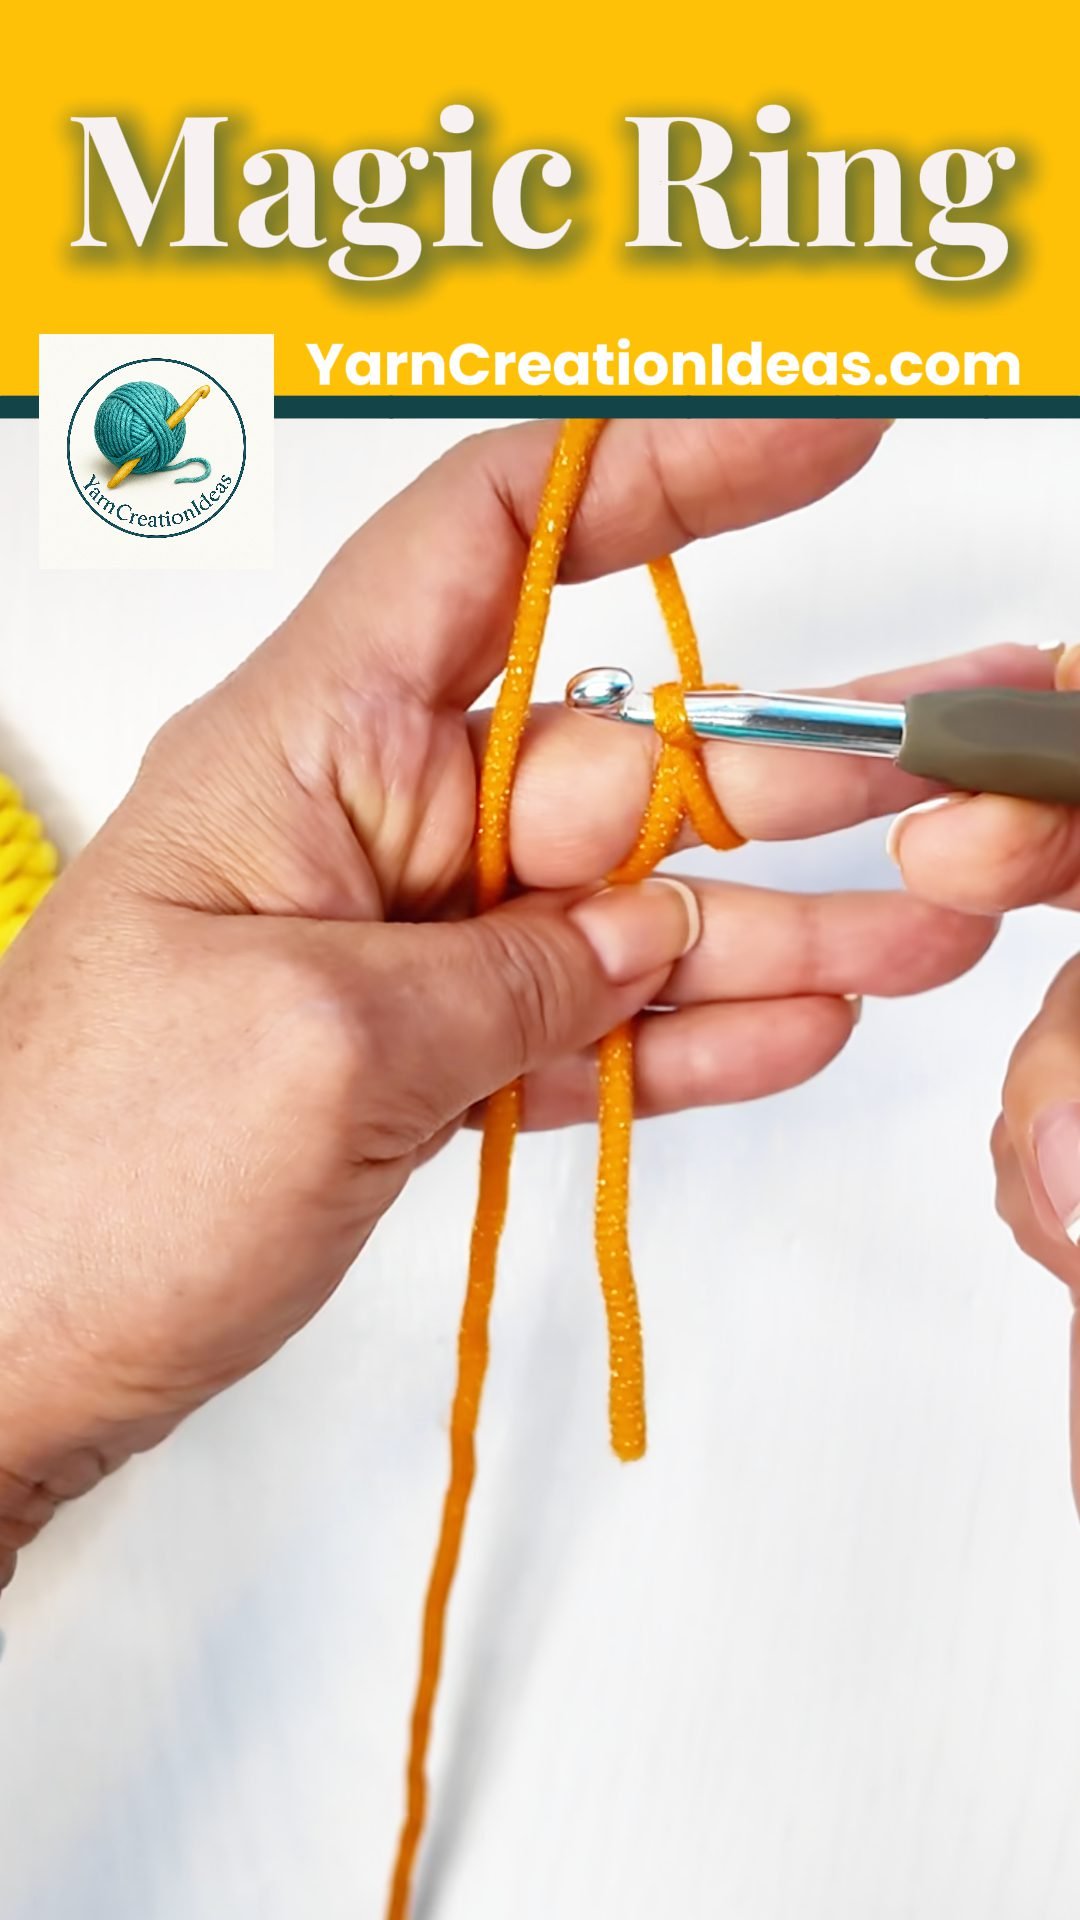
 You now have one loop on the hook — this is the center of your magic ring where you’ll place your stitches.